
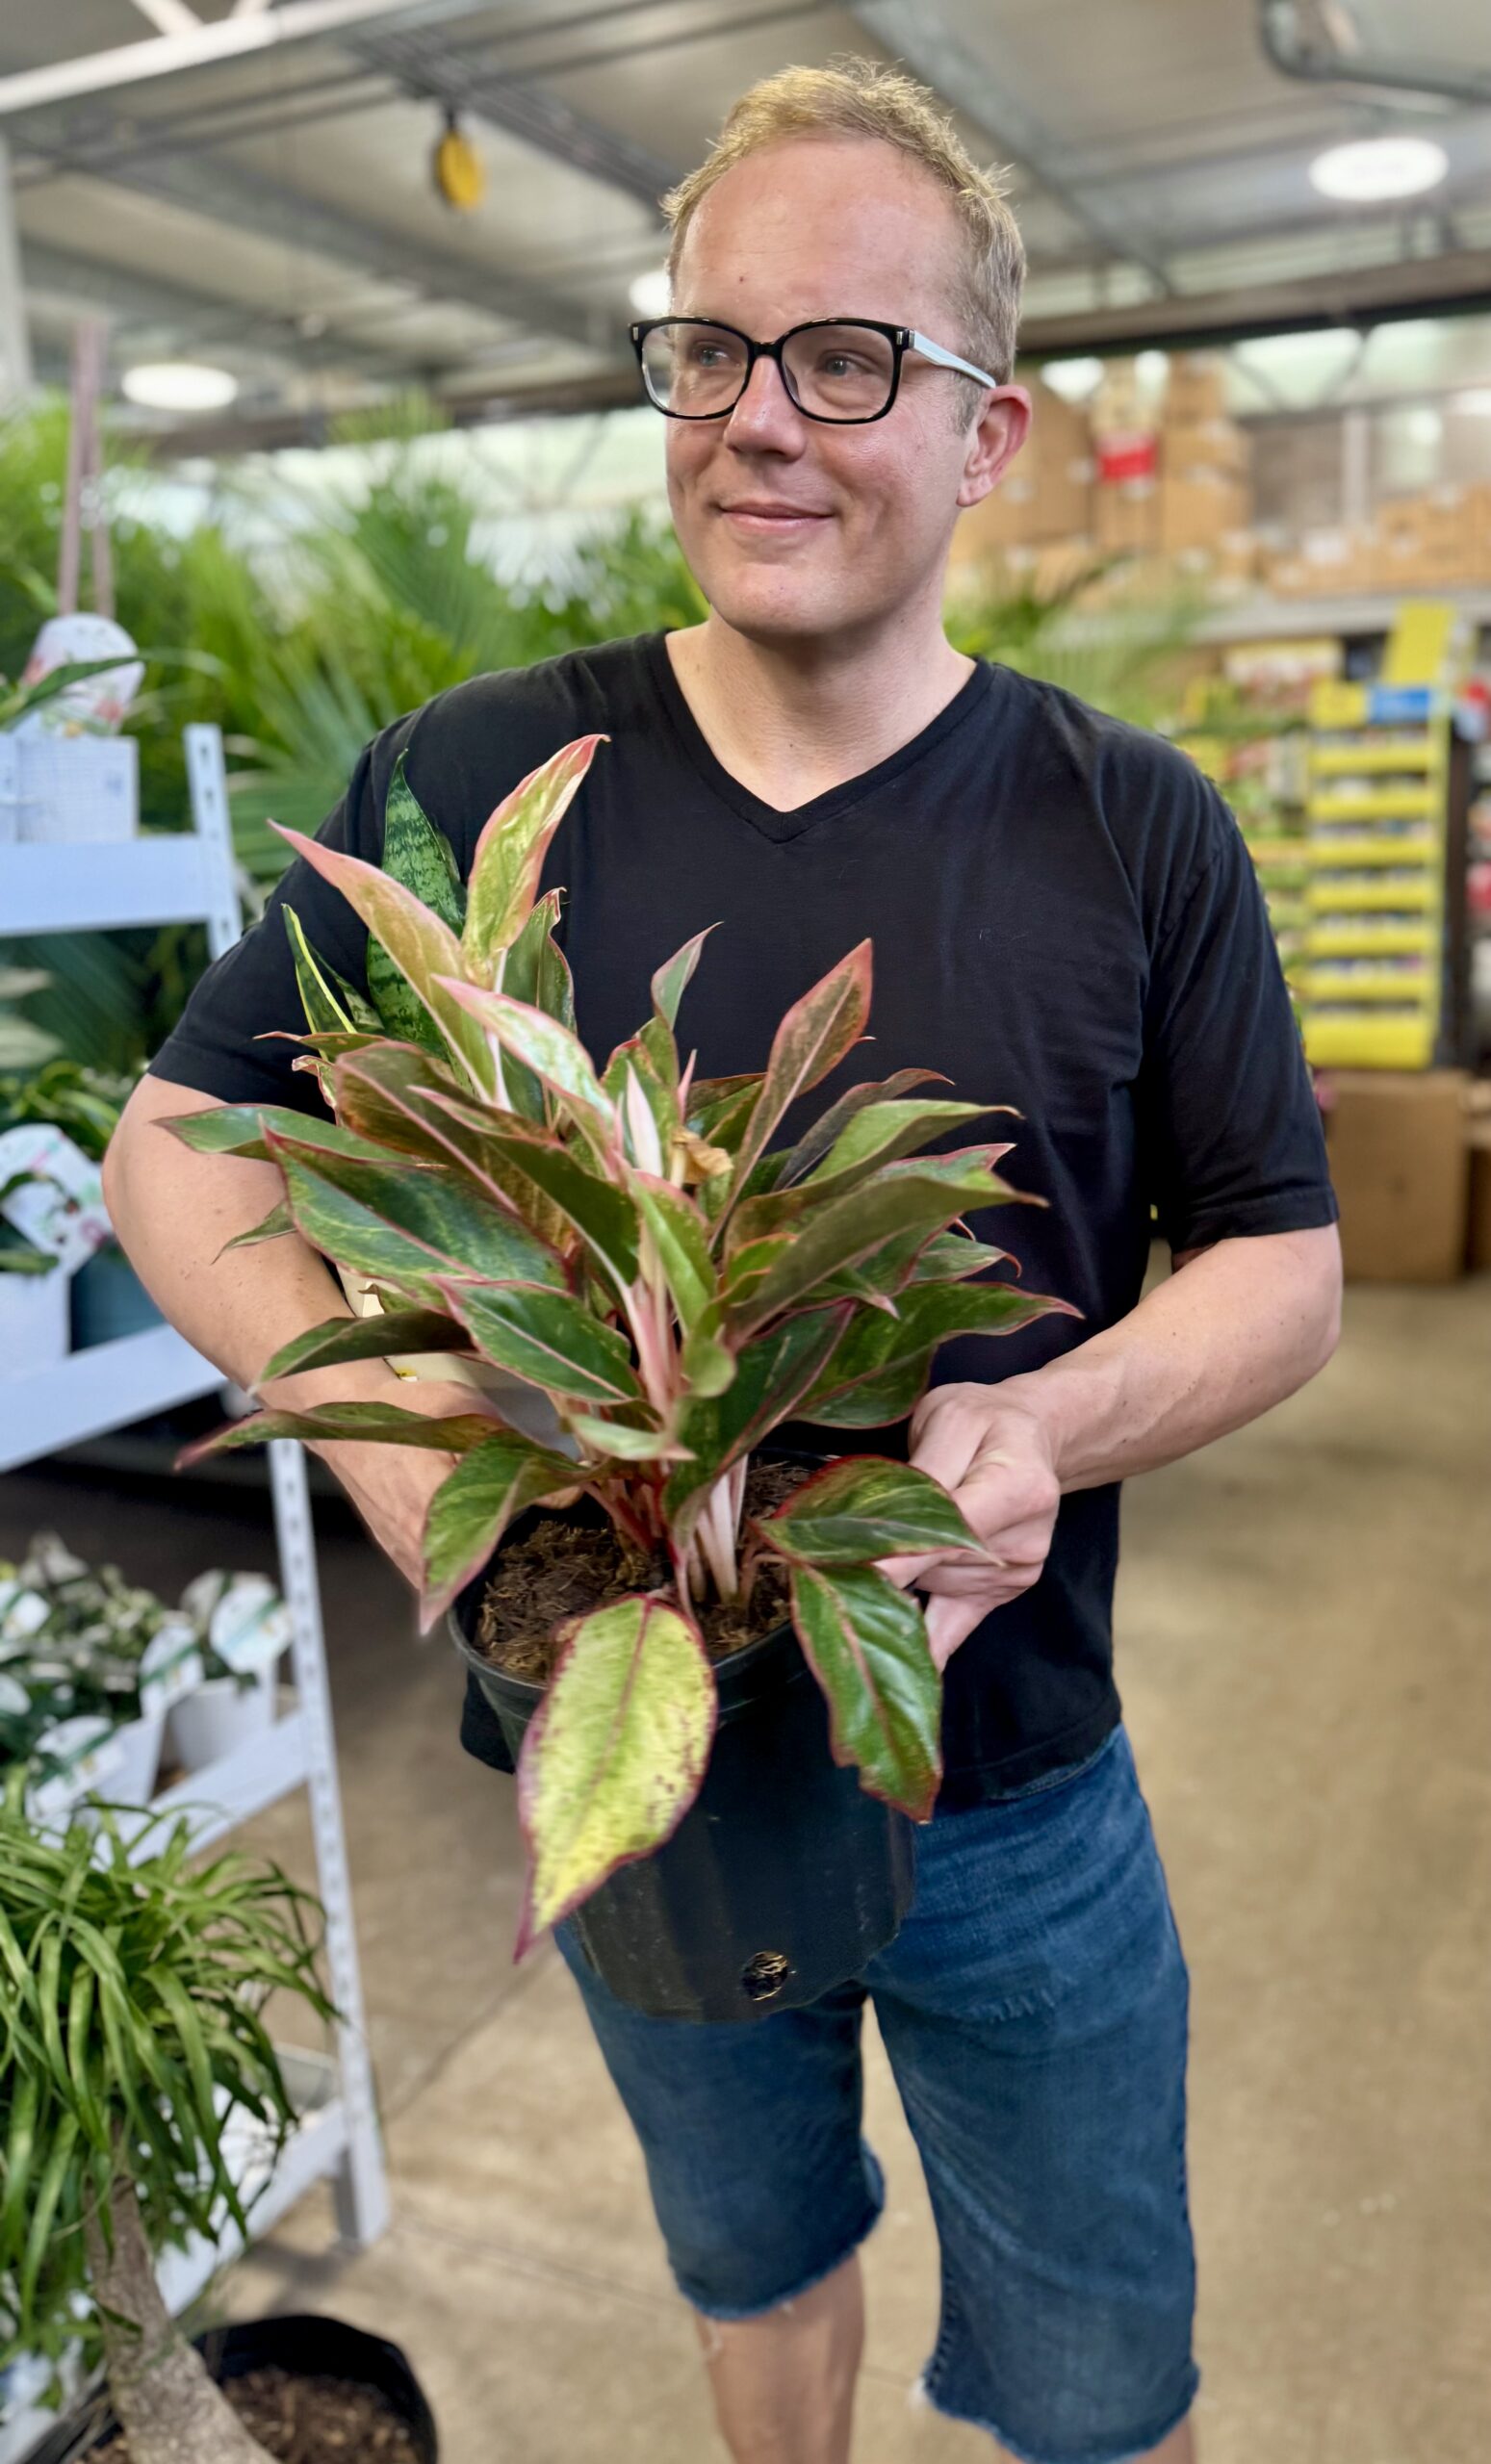
Watch Will repot a freshly purchased big box store plant — exposing the coco coir, the drainage issues, and showing the right soil mix for Austin conditions. Full breakdown below.
Every week someone texts me a photo of a dying plant they just bought at Home Depot or Lowe’s two weeks ago. The leaves are yellowing, the roots are soggy, and there’s often something moving in the soil they’d rather not look at too closely. They want to know what they did wrong.
Usually, they didn’t do anything wrong. The plant was already set up to fail before it left the store.
After 25+ years working with plants in Austin, I’ve repotted hundreds of big box store plants. Here’s what I find almost every single time — and why it matters if you want your plants to actually survive.
Problem #1: They’re Growing in Coco Coir, Not Soil
Commercial nurseries grow plants at scale in coconut coir — shredded coconut husks compressed into a growing medium. It’s cheap, lightweight, easy to ship, and holds moisture extremely well. It’s great for nurseries moving plants from facility to facility.
It is terrible for plants living in your home.
Coco coir holds moisture so effectively that it stays wet for days or weeks longer than a proper potting mix would. In your Austin home — where your air conditioning is already stripping indoor humidity, where watering schedules vary — coco coir creates a permanent wet-root situation that slowly suffocates your plant.
The roots sit in damp coir, can’t get adequate oxygen, and begin to rot. The plant looks fine on top while the root system is quietly failing underneath. I’ve pulled plants out of coco coir and found root systems that were 60–70% rotted while the plant above soil looked healthy enough to sell.
Austin adds another layer: our tap water runs around 290 mg/L hardness from the Highland Lakes (and even harder in Dripping Springs, where customers are on the Trinity Aquifer). Coco coir combined with hard water creates mineral buildup that raises soil pH and blocks nutrient uptake. It’s a one-two punch most Austin plant owners never see coming.
The fix: Repot within the first week. A good Austin mix is 2 parts quality potting soil, 1 part perlite, 1 part orchid bark — airy, fast-draining, completely different from coir. You can see exactly how I do this in the video above.
Problem #2: The Pots Have No Real Drainage
Look at the bottom of the pot your Home Depot plant came in. If you’re lucky, there are a few small holes. More often you’ll find a solid plastic sleeve designed to look presentable on a shelf — not to support a living plant long-term.
Plants need drainage. Without it, water accumulates at the bottom regardless of how carefully you water. That standing water creates the anaerobic conditions root rot needs. The advice about putting rocks at the bottom doesn’t help — research shows it actually creates a “perched water table” that makes waterlogging worse.
The fix: Repot into a pot with genuine drainage holes. Terracotta is ideal for most Austin homes — the porous walls let moisture evaporate through the pot, giving you a buffer against overwatering that plastic simply can’t provide.
Problem #3: Pests Came With the Plant
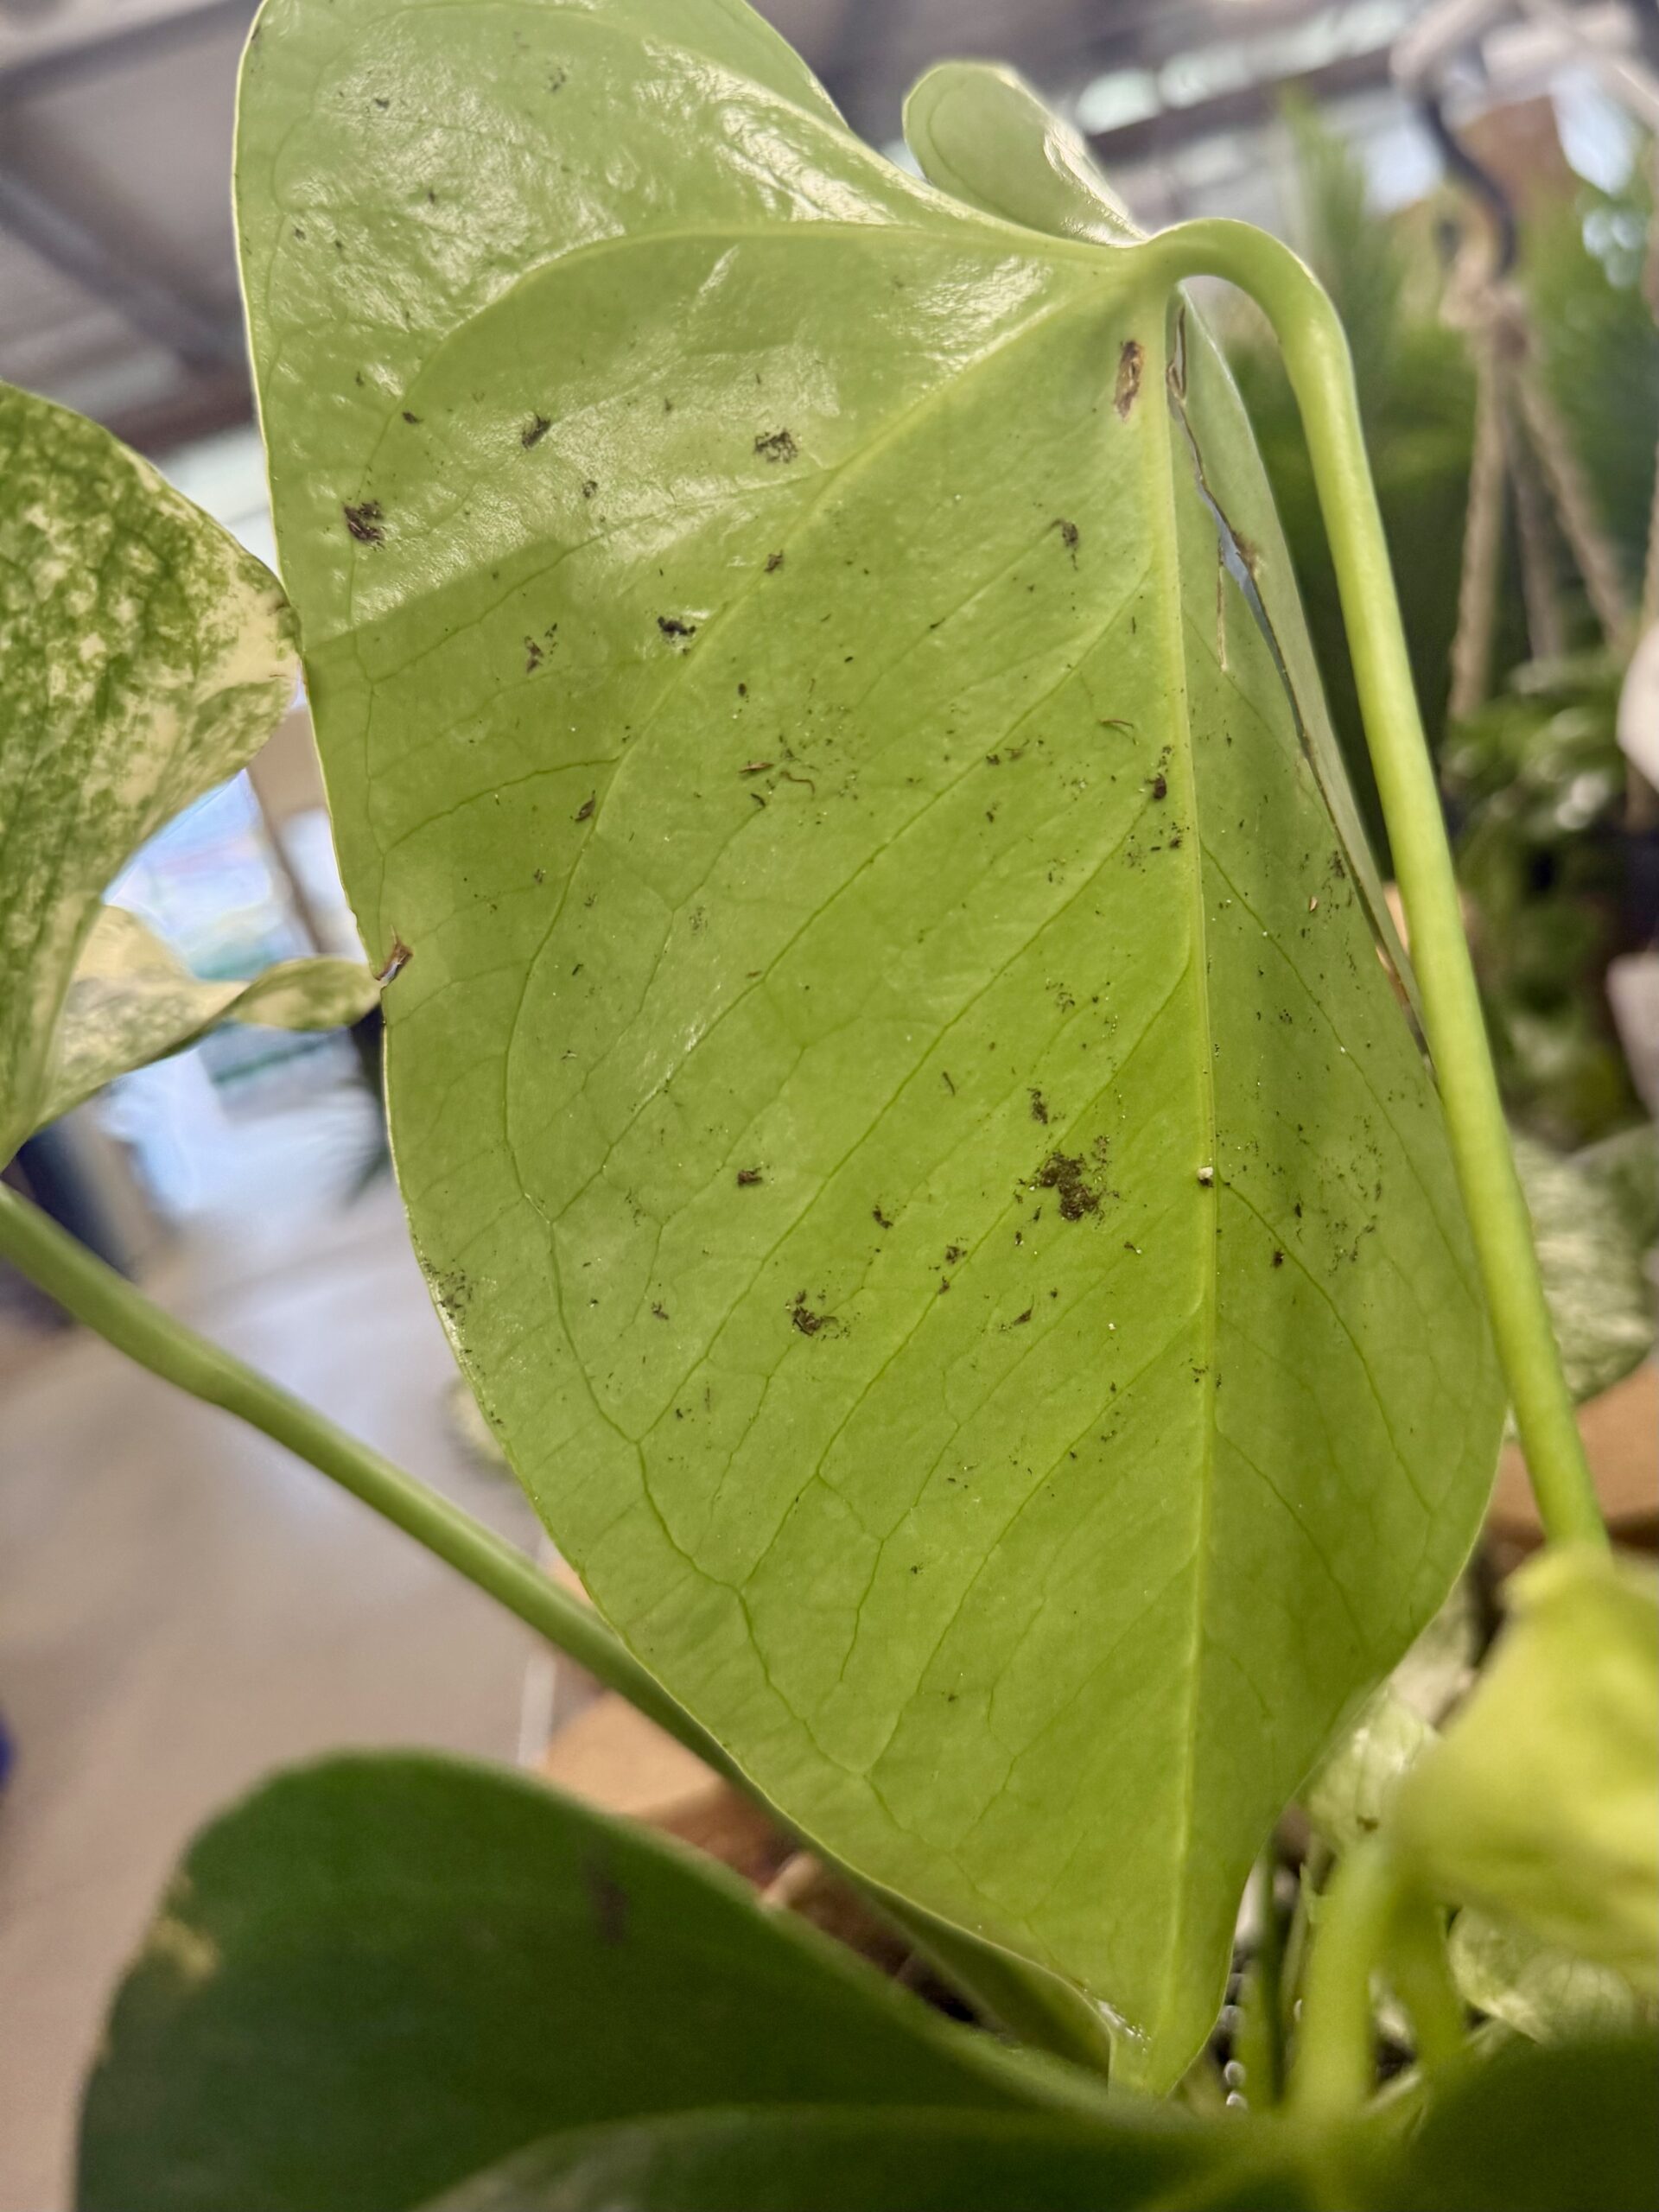
Commercial nurseries grow plants in dense, humid conditions — perfect for fungus gnats, spider mites, thrips, mealybugs, and scale insects. Most big box store plants arrive with at least one pest issue. You just can’t see it yet.
Eggs are invisible. Early-stage spider mites need a magnifying glass. Fungus gnats lay eggs deep in moist soil. By week two or three at home, the population is obvious. By then it may have spread to every plant nearby.
When I repot a big box store plant — as you saw in the video — I inspect every leaf, check the root ball carefully, and start fresh with clean soil. That alone removes the main pest habitat in one step.
The fix: Quarantine every new plant for two weeks before placing it near your others. Inspect leaf undersides with a phone flashlight. Check the soil surface for fungus gnats. Fresh soil at repotting removes the problem at the source.
Once you know a plant came home with hitchhikers, the trick is working out which pest you’re fighting. I put together a full guide to identifying and treating the houseplant pests I see most in Austin homes — from spider mites to scale.
Problem #4: The Shock of Going from Commercial to Home Conditions
Commercial plants are grown in optimized, consistent environments — controlled light, temperature, humidity, and irrigation. Then they get shipped to a distribution center, sit in a dark truck, and land on a big box store floor under fluorescent lights with irregular watering from employees managing thousands of products simultaneously.
Each transition is a stress event. By the time a plant reaches your Austin home it’s already operating on reserves. And Austin adds specific challenges: ~290 mg/L hard water (Trinity Aquifer in Dripping Springs is even harder), AC that drops indoor humidity to 20–30% in summer, and heat that swings between your air-conditioned interior and the Texas sun. The plant isn’t just adjusting to your home — it’s adjusting to Austin.
The fix: Give new plants a genuine grace period. No fertilizer for 4–6 weeks — a stressed plant can’t process nutrients efficiently. Keep them away from direct AC airflow. Water conservatively and always check the soil first. Most plants that survive their first 30 days in Austin will thrive for years.
Should You Never Buy Plants from Big Box Stores?
That’s not my point. Big box stores carry genuinely good plants at prices that are hard to argue with. A $12 Pothos from Home Depot can become a beautiful, thriving plant that fills your space for a decade.
The point is knowing what you’re getting into and having a plan. Repot it, check for pests, give it time to adjust. The video above shows you exactly how I do it.
And if you’d rather skip the troubleshooting and just have plants that work in your Austin space from day one — that’s what Keep Austin Watered is for. We source plants right for Central Texas conditions, pot them properly, and care for them on a schedule designed for our climate. No coco coir. Proper drainage. Pest-free. Austin-specific care from the start.
Book a free consult with Will →
Watch: How I Actually Rescue One of These Plants
Knowing why big box plants struggle is half the battle. The other half is treatment. Here’s Part 2 — me walking through exactly what I do in the first week after bringing a stressed plant home.
Three things happen in this video:
1. I diagnose the crunchy leaf tips. Crispy edges on a new plant almost always come from one of three things — low humidity, mineral buildup from hard water (a real issue in Austin), or transplant shock from being moved out of greenhouse conditions. I’ll show you how to tell which one you’re dealing with.
2. I spray the whole plant down with neem oil. Neem is a low-toxicity horticultural oil that does two jobs at once — it reveals hidden pests (anything that moves when wet becomes obvious) and treats common ones like thrips, spider mites, and mealybugs. I spray every leaf, top and underside, plus all the leaf joints where pests like to hide.
3. I trim the damaged leaves. Counterintuitive but true — removing damaged tissue helps the plant. A crispy leaf is still pulling resources the plant could spend on new growth. I cut at the base of the stem with clean shears, and you can see the difference immediately in how the plant carries itself.
This is what week one of professional plant care actually looks like. Not magic — just the right interventions in the right order.
Read next
- Austin Hard Water & Your Plants — what our water does to houseplants and how to fix it.
- Best Plants for Austin Beginners — if you’re starting from scratch, start here.
What to buy instead: Snake Plant Care in Austin · Repotting Houseplants in Austin (the right way)
Want to learn this hands-on instead of guessing? I now run group plant classes across Austin and the Hill Country — repotting, propagation, and plant care, at your clubhouse or kitchen table.
Further Reading
- Why Houseplants Die in Austin — the four biggest killers, diagnosed end to end
- Why Your Pothos Is Turning Yellow in Austin — the cheap big box plant that yellows fastest
- Brown Tips on Houseplants in Austin — what those crispy edges on a new plant actually mean
- Fiddle Leaf Fig Care in Austin — the classic impulse buy, and why it struggles here
- Why Austin Coffee Shop Plants Struggle — the same problems, scaled up to a whole café full of plants
There is a pet-safety angle to all this mislabeling too: if you cannot identify what you brought home, you cannot know whether it is safe around animals. Here is my pet-safe houseplant guide, sorted by real risk.

Where to buy instead: if you’d rather skip the big-box bin, here are the Hill Country plant shops I actually recommend.